
Workshop practice
Starter Motor Replacement: Pre-Installation Checklist
A workshop-oriented checklist for comparing the old and replacement units before energizing the circuit.
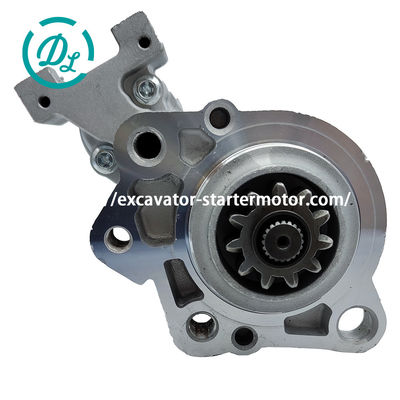
Make the machine safe
Park securely, lower attachments, isolate the electrical system and follow the service manual. Starter circuits carry very high current. Incorrect isolation, tools across terminals or unsupported components can cause serious injury or equipment damage.
Compare both units on the bench
Place the original and replacement side by side. Confirm voltage and reference, then compare the mounting face, bolt-hole spacing, flange, pinion position, tooth count, rotation, terminals, overall length and solenoid orientation. Transfer no brackets or spacers until their purpose is understood.
- No shipping damage or loose terminals
- Correct mounting hardware and support bracket
- Clean mating surface and undamaged ring gear
- Cable lugs clean, tight and correctly routed
- No cable can touch a hot, sharp or rotating part
Test the complete starting system
After installation, reconnect according to the manual, verify cable security and observe the first crank. Abnormal engagement, smoke, heat or noise requires immediate shutdown. Confirm charging-system and battery condition so a new starter is not damaged by an unresolved system fault.
Need help confirming a part?
Send the complete OEM number, machine model, engine model and clear photos of the original unit. EexcavaStart can compare the available reference and visible configuration before quotation.